
nintendo switch afterglow wireless controller manual
Welcome to the Nintendo Switch Afterglow Wireless Controller Manual. This guide helps you unlock your controller’s full potential, featuring wireless freedom, customizable LED lights, motion controls, and programmable buttons for enhanced gaming.
Overview of the Controller and Its Features
The Nintendo Switch Afterglow Wireless Controller offers a cable-free gaming experience with customizable LED lighting, featuring vibrant colors and adjustable modes. It includes dual programmable back buttons for enhanced gameplay and motion controls for immersive play. Designed for comfort, the controller boasts an ergonomic build and is fully licensed for compatibility with the Nintendo Switch. Its wireless connectivity and customizable features make it a versatile accessory for both casual and competitive gamers, ensuring a seamless and enjoyable experience.
Importance of the Manual for Optimal Use
This manual is essential for maximizing your Afterglow Wireless Controller’s functionality. It provides clear instructions for pairing, customizing LED lights, and programming back buttons. Troubleshooting tips address common issues like connectivity problems and LED malfunctions. Understanding charging procedures ensures optimal battery life. By following the guide, you can enhance your gaming experience and maintain the controller’s performance. It serves as a comprehensive resource to help you get the most out of your accessory.
Setting Up the Afterglow Wireless Controller
Setting up your Afterglow Wireless Controller involves unboxing, charging, and pairing with your Nintendo Switch. Follow the manual for a smooth and hassle-free initial setup experience.
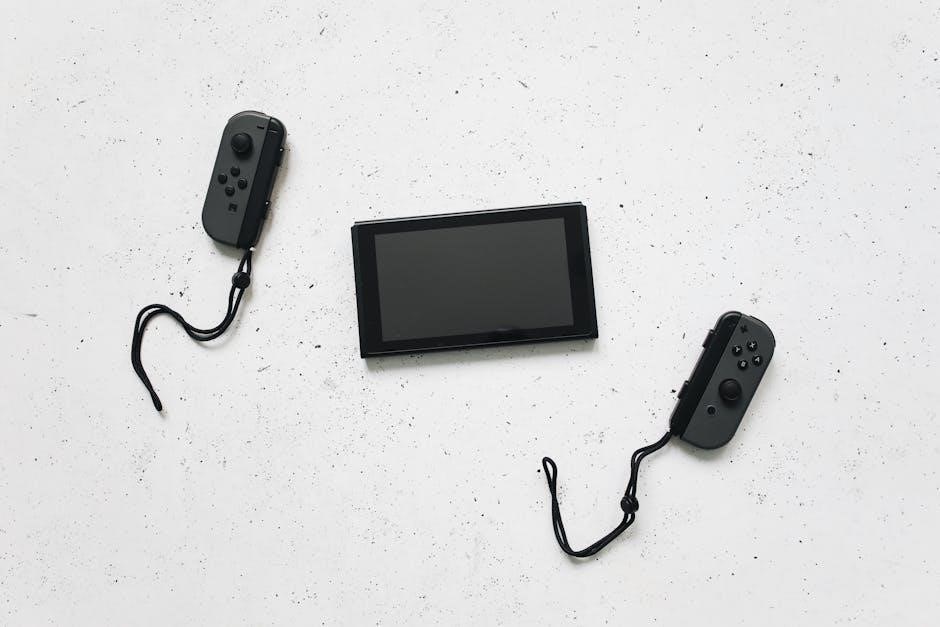
Unboxing and Initial Impressions
Unboxing the Afterglow Wireless Controller reveals a sleek, well-packaged design, complete with the controller, USB cable, and manual. Initial impressions highlight its ergonomic build and vibrant LED lighting. Customers often note the controller’s sturdy construction and appealing aesthetic. The customizable buttons and motion controls stand out, offering a modern gaming experience. First-time users often express excitement about the wireless freedom and colorful LED modes, making it a visually appealing and functional accessory for the Nintendo Switch.
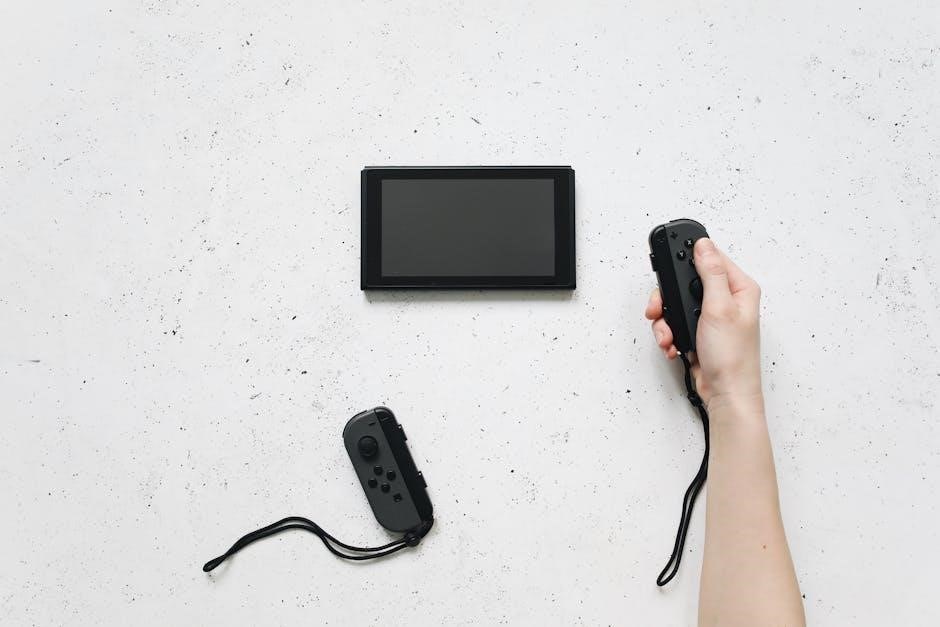
Pairing the Controller with the Nintendo Switch
To pair the Afterglow Wireless Controller with your Nintendo Switch, turn on the console and press any button on the controller. The controller should automatically pair. If it doesn’t, press and hold the Function button (triangle symbol) and a shoulder button (L or R) to enter pairing mode. The LED lights will flash, indicating successful pairing. You’re now ready to enjoy wireless gaming with enhanced features like motion controls and customizable buttons for an optimized experience.
Charging the Controller for the First Time
Before using your Afterglow Wireless Controller, charge it fully using the included USB cable. Connect the controller to your Nintendo Switch dock or a USB power source. The LED lights will indicate charging. Allow it to charge for at least 2-3 hours to ensure maximum battery life. Once fully charged, the LED light will turn off. Proper charging is essential for optimal performance and longevity of the battery.
Customizing the Controller
Customize your gaming experience with adjustable LED lighting, programmable back buttons, and motion controls. Personalize settings to enhance gameplay and create a tailored experience.
Adjusting LED Lighting and Color Modes
Programming the Back Buttons for Enhanced Gameplay
Customizing Motion Controls and Sensitivity
The Afterglow Wireless Controller allows you to adjust motion controls and sensitivity for precise gameplay. Access the settings via the Nintendo Switch menu, where you can calibrate the gyroscope and fine-tune sensitivity levels. This ensures optimal performance in games requiring motion inputs, such as sports or action titles. Customizing these settings enhances accuracy and responsiveness, providing a more immersive and intuitive gaming experience tailored to your preferences.
Troubleshooting Common Issues
Address common issues like connectivity problems, LED malfunctions, and analog stick drift. This section provides solutions to ensure smooth operation and optimal performance of your controller.
Fixing Connectivity Problems
Experiencing connectivity issues? Restart both your Switch and controller. Ensure the controller is fully charged and paired correctly. If automatic pairing fails, manually pair by holding the pairing button. Check for firmware updates and reset the controller if necessary. Ensure no other devices are interfering with the wireless signal. These steps should restore a stable connection for uninterrupted gaming.
Resolving LED Lighting Malfunctions
If your Afterglow controller’s LED lights aren’t working, restart the controller and ensure it’s fully charged. Check if the LED settings are enabled and adjust brightness using the Function button with ZR/ZL. If issues persist, reset the controller by holding the pairing button and the Function button for 10 seconds. This should restore default lighting settings. For further assistance, consult the manual or contact PDP support.
Addressing Analog Stick Drift Issues
Analog stick drift can be resolved by recalibrating the controller. Connect it to your Switch, navigate to System Settings, then Controllers and Sensors, and select Calibrate Control Sticks. Follow on-screen instructions to complete calibration. For persistent issues, clean the sticks with a soft cloth and ensure no debris obstructs movement. If problems remain, contact PDP support for further troubleshooting or warranty assistance.
Battery Life and Charging
Ensure optimal charging by using the original cable and avoiding overcharging. Charge the controller when the battery is low to maintain its longevity and performance.
Maximizing Battery Life
To maximize battery life, charge the controller when the battery is low and avoid overcharging. Use the original USB cable to prevent damage. Turn off LED lights when not in use to conserve power. Ensure the controller is updated with the latest firmware for optimal performance. Store the controller in a cool, dry place to maintain battery health. These tips will help extend the lifespan and reliability of your Afterglow Wireless Controller.
Understanding Charging Indicators and Cycles
The Afterglow Wireless Controller uses LED indicators to show charging status. A red light indicates charging, while a green light signals a full charge. Charge the controller when the battery is low to avoid overcharging, which can reduce battery life. Use the original USB cable for charging to ensure safety and efficiency. The controller typically requires 2-3 hours for a full charge. Proper charging cycles help maintain battery health for long-term reliability and performance.
User Experience and Feedback
Users praise the Afterglow Wireless Controller for its comfort and ergonomic design, reducing fatigue during extended gaming sessions. The customizable LED lights and wireless connectivity enhance the overall gaming experience, offering a personalized and cable-free play.
Comfort and Ergonomics
The Afterglow Wireless Controller is designed for extended gaming sessions, featuring an ergonomic layout that fits comfortably in your hands. The contoured grips and balanced weight distribution reduce fatigue, while the smooth, textured surface ensures a secure hold. Users have praised the controller’s ability to provide a natural feel, with intuitive button placement and a design that minimizes hand strain, allowing for immersive gameplay without discomfort or irritation.
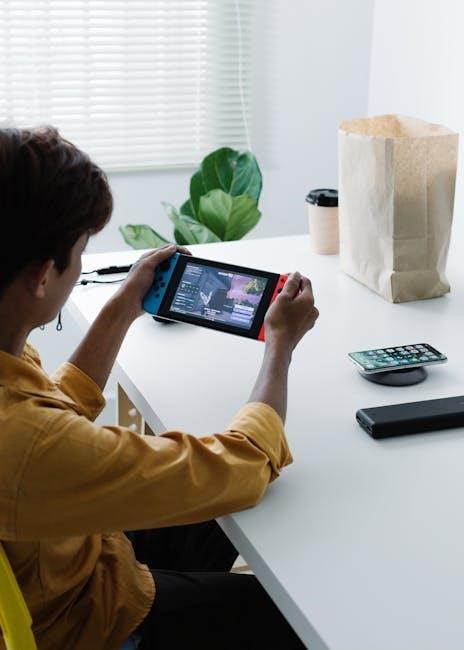
Performance in Various Gaming Scenarios
The Afterglow Wireless Controller excels in diverse gaming scenarios, delivering precise control for both casual and competitive play. Its motion controls enhance immersive experiences in games like The Legend of Zelda: Breath of the Wild, while the programmable back buttons provide quick access to complex actions in titles like Super Smash Bros. Ultimate. The controller’s responsiveness and versatility make it a reliable choice for a wide range of genres, from fast-paced action games to strategic RPGs, ensuring optimal performance across the Switch library.
Using the Controller with PC
The Afterglow Wireless Controller can be paired with your PC via Bluetooth or used with a wired USB connection, offering seamless gaming across platforms.
Pairing the Controller via Bluetooth
To pair the Afterglow Wireless Controller with your PC via Bluetooth, ensure the controller is in pairing mode by holding the Function button until the LED flashes. Open your PC’s Bluetooth settings, locate the controller in the available devices list, and select it to begin pairing. Once connected, the LED will stabilize, indicating successful pairing. This setup allows wireless gaming on PC with minimal setup required.
Setting Up Wired USB Connectivity
For a wired USB connection, plug the controller into your PC using the included USB cable. The controller will automatically pair with your device once connected. Ensure the USB cable is securely plugged into both the controller and PC. This wired mode provides a stable connection for uninterrupted gaming. It’s ideal for consistent performance and charging the battery while playing. This setup ensures quick and reliable connectivity for PC gaming sessions.
Maintenance and Care
Regularly clean the controller with a soft cloth and store it in a protective case to prevent damage. Avoid extreme temperatures and ensure proper battery care.
Cleaning the Controller
To maintain your Afterglow Wireless Controller, gently wipe it with a soft, dry cloth. For stubborn dirt, dampen the cloth slightly but avoid liquids touching openings. Never use harsh chemicals or abrasive materials, as they may damage the finish or harm electronic components. Regular cleaning prevents dust buildup and ensures optimal performance. Allow the controller to dry thoroughly before use if any moisture is present.
Proper Storage to Prevent Damage
Store your Afterglow Wireless Controller in a cool, dry place away from direct sunlight. Use the original packaging or a protective case to shield it from scratches and dust. Avoid tight spaces that may bend or press buttons unintentionally. Ensure the controller is fully dry before storage to prevent moisture damage. Regularly check for dust buildup and clean as needed to maintain functionality and extend its lifespan. Proper storage ensures your controller remains in excellent condition for future use.
Mastering your Afterglow Wireless Controller enhances your gaming experience; Follow this manual for optimal use, customization, and care to ensure lasting performance and enjoyment.
Final Tips for Getting the Most Out of the Controller
For an optimal experience, regularly update firmware and clean your controller. Experiment with LED settings and button mappings to personalize gameplay. Charge fully before use to maximize battery life, and store properly when not in use. Explore motion controls and programmable buttons to enhance your gaming sessions. Refer to troubleshooting tips if issues arise, ensuring uninterrupted enjoyment of your Afterglow Wireless Controller.
Resources for Further Assistance
For additional support, visit the official PDP website for firmware updates and detailed guides. Check Amazon product pages for user reviews and troubleshooting tips. YouTube offers video tutorials for setup and customization. Join gaming forums for community advice and solutions. Contact PDP customer support for direct assistance with any issues. These resources ensure you maximize your Afterglow Wireless Controller’s performance and resolve any challenges effectively.